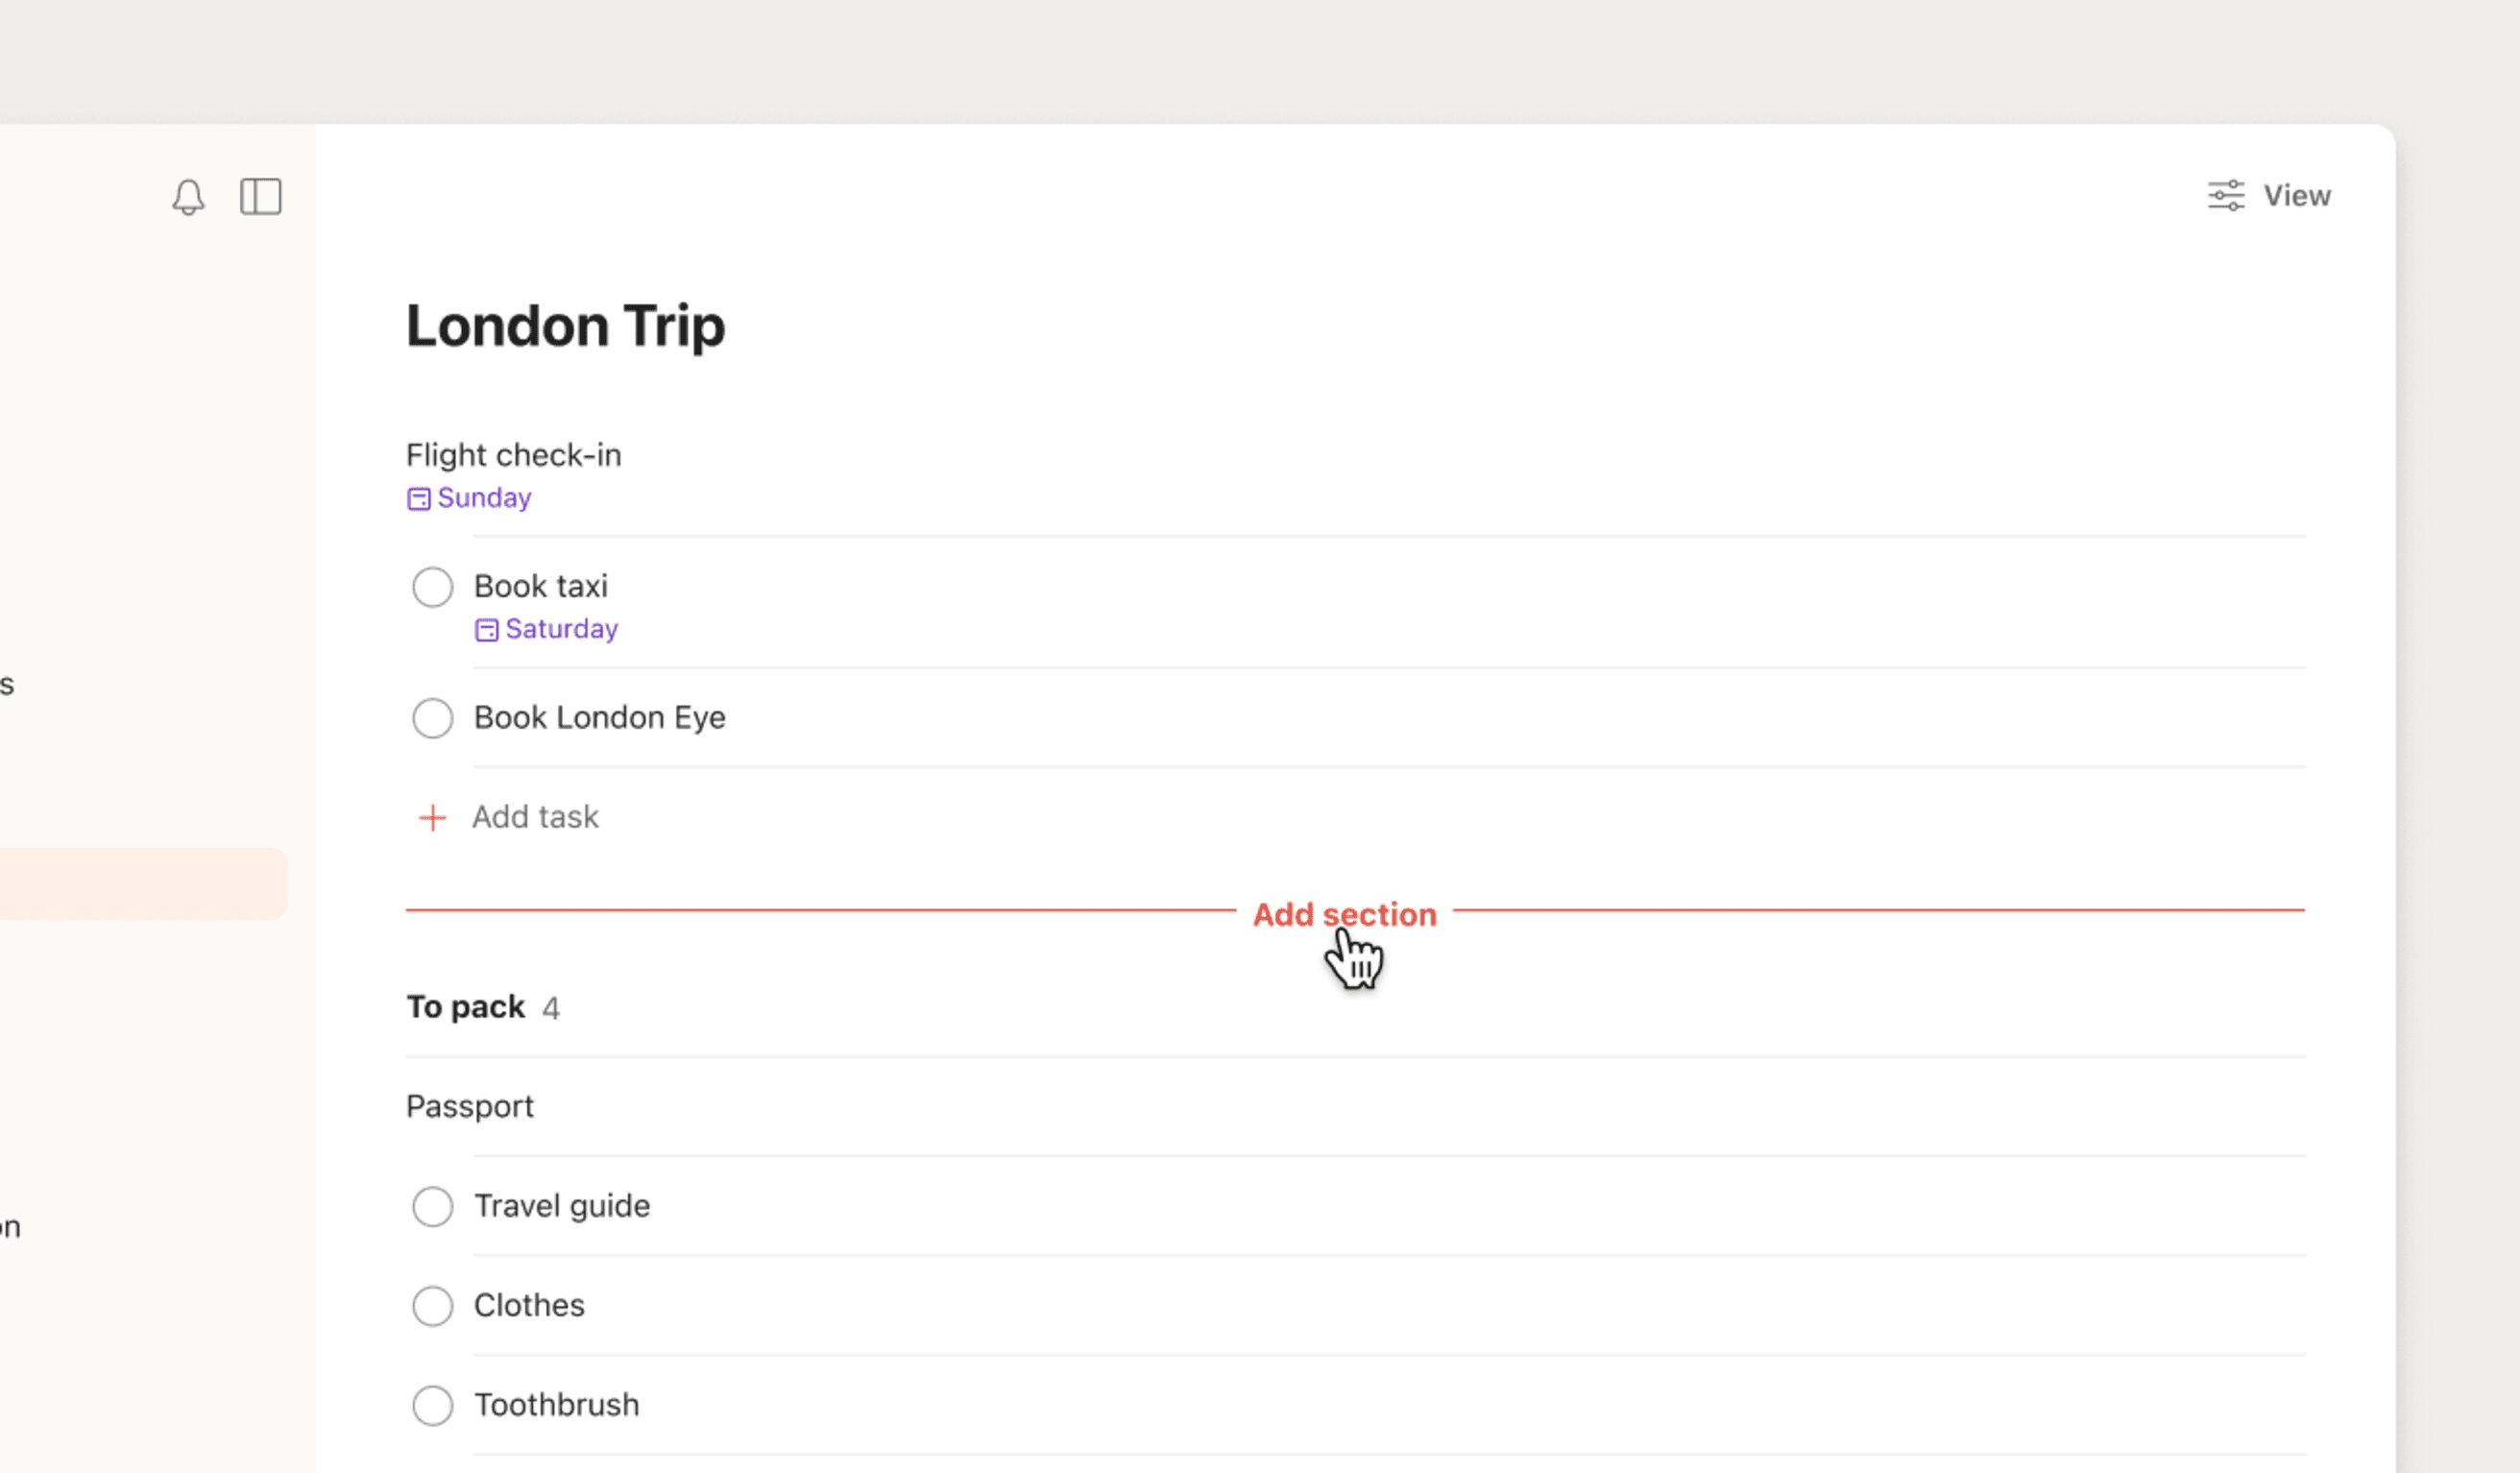
Sections help you break a big project down into manageable parts, keeping you focused without feeling overwhelmed by a long, single list of tasks. In Todoist, you can create up to 20 sections per project to categorize tasks or organize them into phases. This way, you’ll know where a task belongs or which task to tackle first.
Add a section
When using the list layout:
- Open Todoist.
- Open a project from the sidebar.
- Click the three dots icon at the top-right.
- Select Add section.
- Give the section a name.
- Click Add section again to confirm.
Quick tip
Bring your cursor over to the top or bottom of the task list until you see a red Add section option span across the project.
When using the board layout:
- Open Todoist.
- Open a project from the sidebar.
- Scroll to the right and until you reach the end of your board.
- Click Add section.
- Give the section a name.
- Click Add section again to confirm.
Rename a section
You may need to rename a section at any point of the project. Here’s how to do so:
- Click the three dots icon next to the section’s name.
- Select Edit.
- Give the section a new name.
- Click Save to confirm.
Move a section
You found that a section should move down the list, or to a different project entirely. Here’s how to move a section in Todoist:
Move a section within the project
- Click the drag handle icon to the left of the section.
- Drag the section to its new position.
Move a section to a different project
- Click the three dots icon to the right of the section.
- Select Move to...
- Click the project you want to move your section to.
Rikke · Customer Experience Specialist
If you’re working on a team project, you can only move sections to other projects that belong in that same team. If you need the same section in a personal project, you’ll have to add it as a new section to that project.
Duplicate a section
When you need to reuse a section with all its tasks in your project, just duplicate it.
- Open Todoist.
- Open a project from the sidebar.
- Find the section in the project.
- Click the three dots icon beside the section name.
- Select Duplicate.
This creates a new section with the same tasks. The duplicated section has the words Copy of before the section name.
Archive a section
You can’t complete sections like how you complete tasks, but archiving them comes close to it. Archive a section to safely stow away all its information. You can restore this section and all its tasks at any time.
- Click the three dots icon next to the section.
- Select Archive.
- Click Archive to confirm.
Find an archived section
- Open Todoist.
- Open the project from the sidebar.
- Click View at the top-right of the project.
- Turn on Completed tasks.
Archived sections are grayed out, and tasks in these sections are shown as completed.
Unarchive a section
- Open Todoist.
- Open a project from the sidebar.
- Click View at the top-right of the project.
- Turn on Completed tasks. Archived sections are greyed out, and tasks in these sections are shown as completed.
- Click the three dots icon next to the archived section name.
- Select Unarchive.
Although the section is back in the project, tasks saved to it will remain completed.
Delete a section
When a section no longer serves its purpose, cut the noise by deleting it from the project:
- Click the three dots icon beside the section.
- Select Delete.
- Click Delete to confirm.
Warning
If you delete a section, all its active and completed tasks are deleted as well, and these can’t be restored. If you're a Todoist Pro or Business customer, and you need to recover that deleted section, download and import a backup.
Best practices for sections
Sections are useful when organizing and structuring your projects in Todoist. Here are some best practices to keep in mind when using sections.
Reorder sections in your project
Drag a section and all its tasks to its rightful place in your project. You can rearrange projects based on priority or category, alphabetically or chronologically. The sky’s the limit!
Archive a section after completing all its tasks
Think of sections as phases or milestones of your project. After completing all the tasks in one section, archive the section to signify you’ve completed this phase and are moving on to the next.
Use emoji or special characters
You can’t add labels, priorities, or comments to a section, but you can use emoji or special characters when naming sections in a project. Use emoji to add visual references, or special characters like " ( ) | & ! _ - or , to include more information in the section name.
Move tasks before archiving or deleting a section
Keep from archiving or deleting tasks you actually want to save by moving them out of the section:
- Open the project from the sidebar.
- Bulk select the tasks in the section.
- Click the Move to... icon.
- Select the section or project to move these tasks to.
Get started
Excited to start organizing all those bulky projects you’ve been putting off? Of course you are. We hope this guide gives you the direction needed to break your big projects down into sections and get the overview you need to set you (and your team) up for success.
If you’re having trouble creating, archiving, or working with sections, get in touch with us. We— Rikke, Stef, Dermot, or any of our other teammates—are happy to help you bring order back into your projects.
