As a Todoist user, you’re likely already using many of the features available within the app to help you do your best work. If you have go-to projects, you can access them more easily with Todoist Favorites. Looking for a different look and feel? We’ve got you covered with multiple themes, including the ever popular Dark Theme. Don’t forget labels, filters, and a suite of other features to organize your tasks more efficiently.
If you’re eager to get even more out of Todoist, we have the answer: integrations. If saving time through automation sounds appealing, our 60+ integrations are exactly what you need to bring together all your favorite tools into one productivity hub. Here are some of our favorite Todoist Integrations to get you started...
Zapier
Zapier isn’t exactly an integration itself. Rather, it’s the best way to build your own custom integrations without writing a single line of code. Using Zapier and Todoist allows you to connect your to-do list with just about any other app.
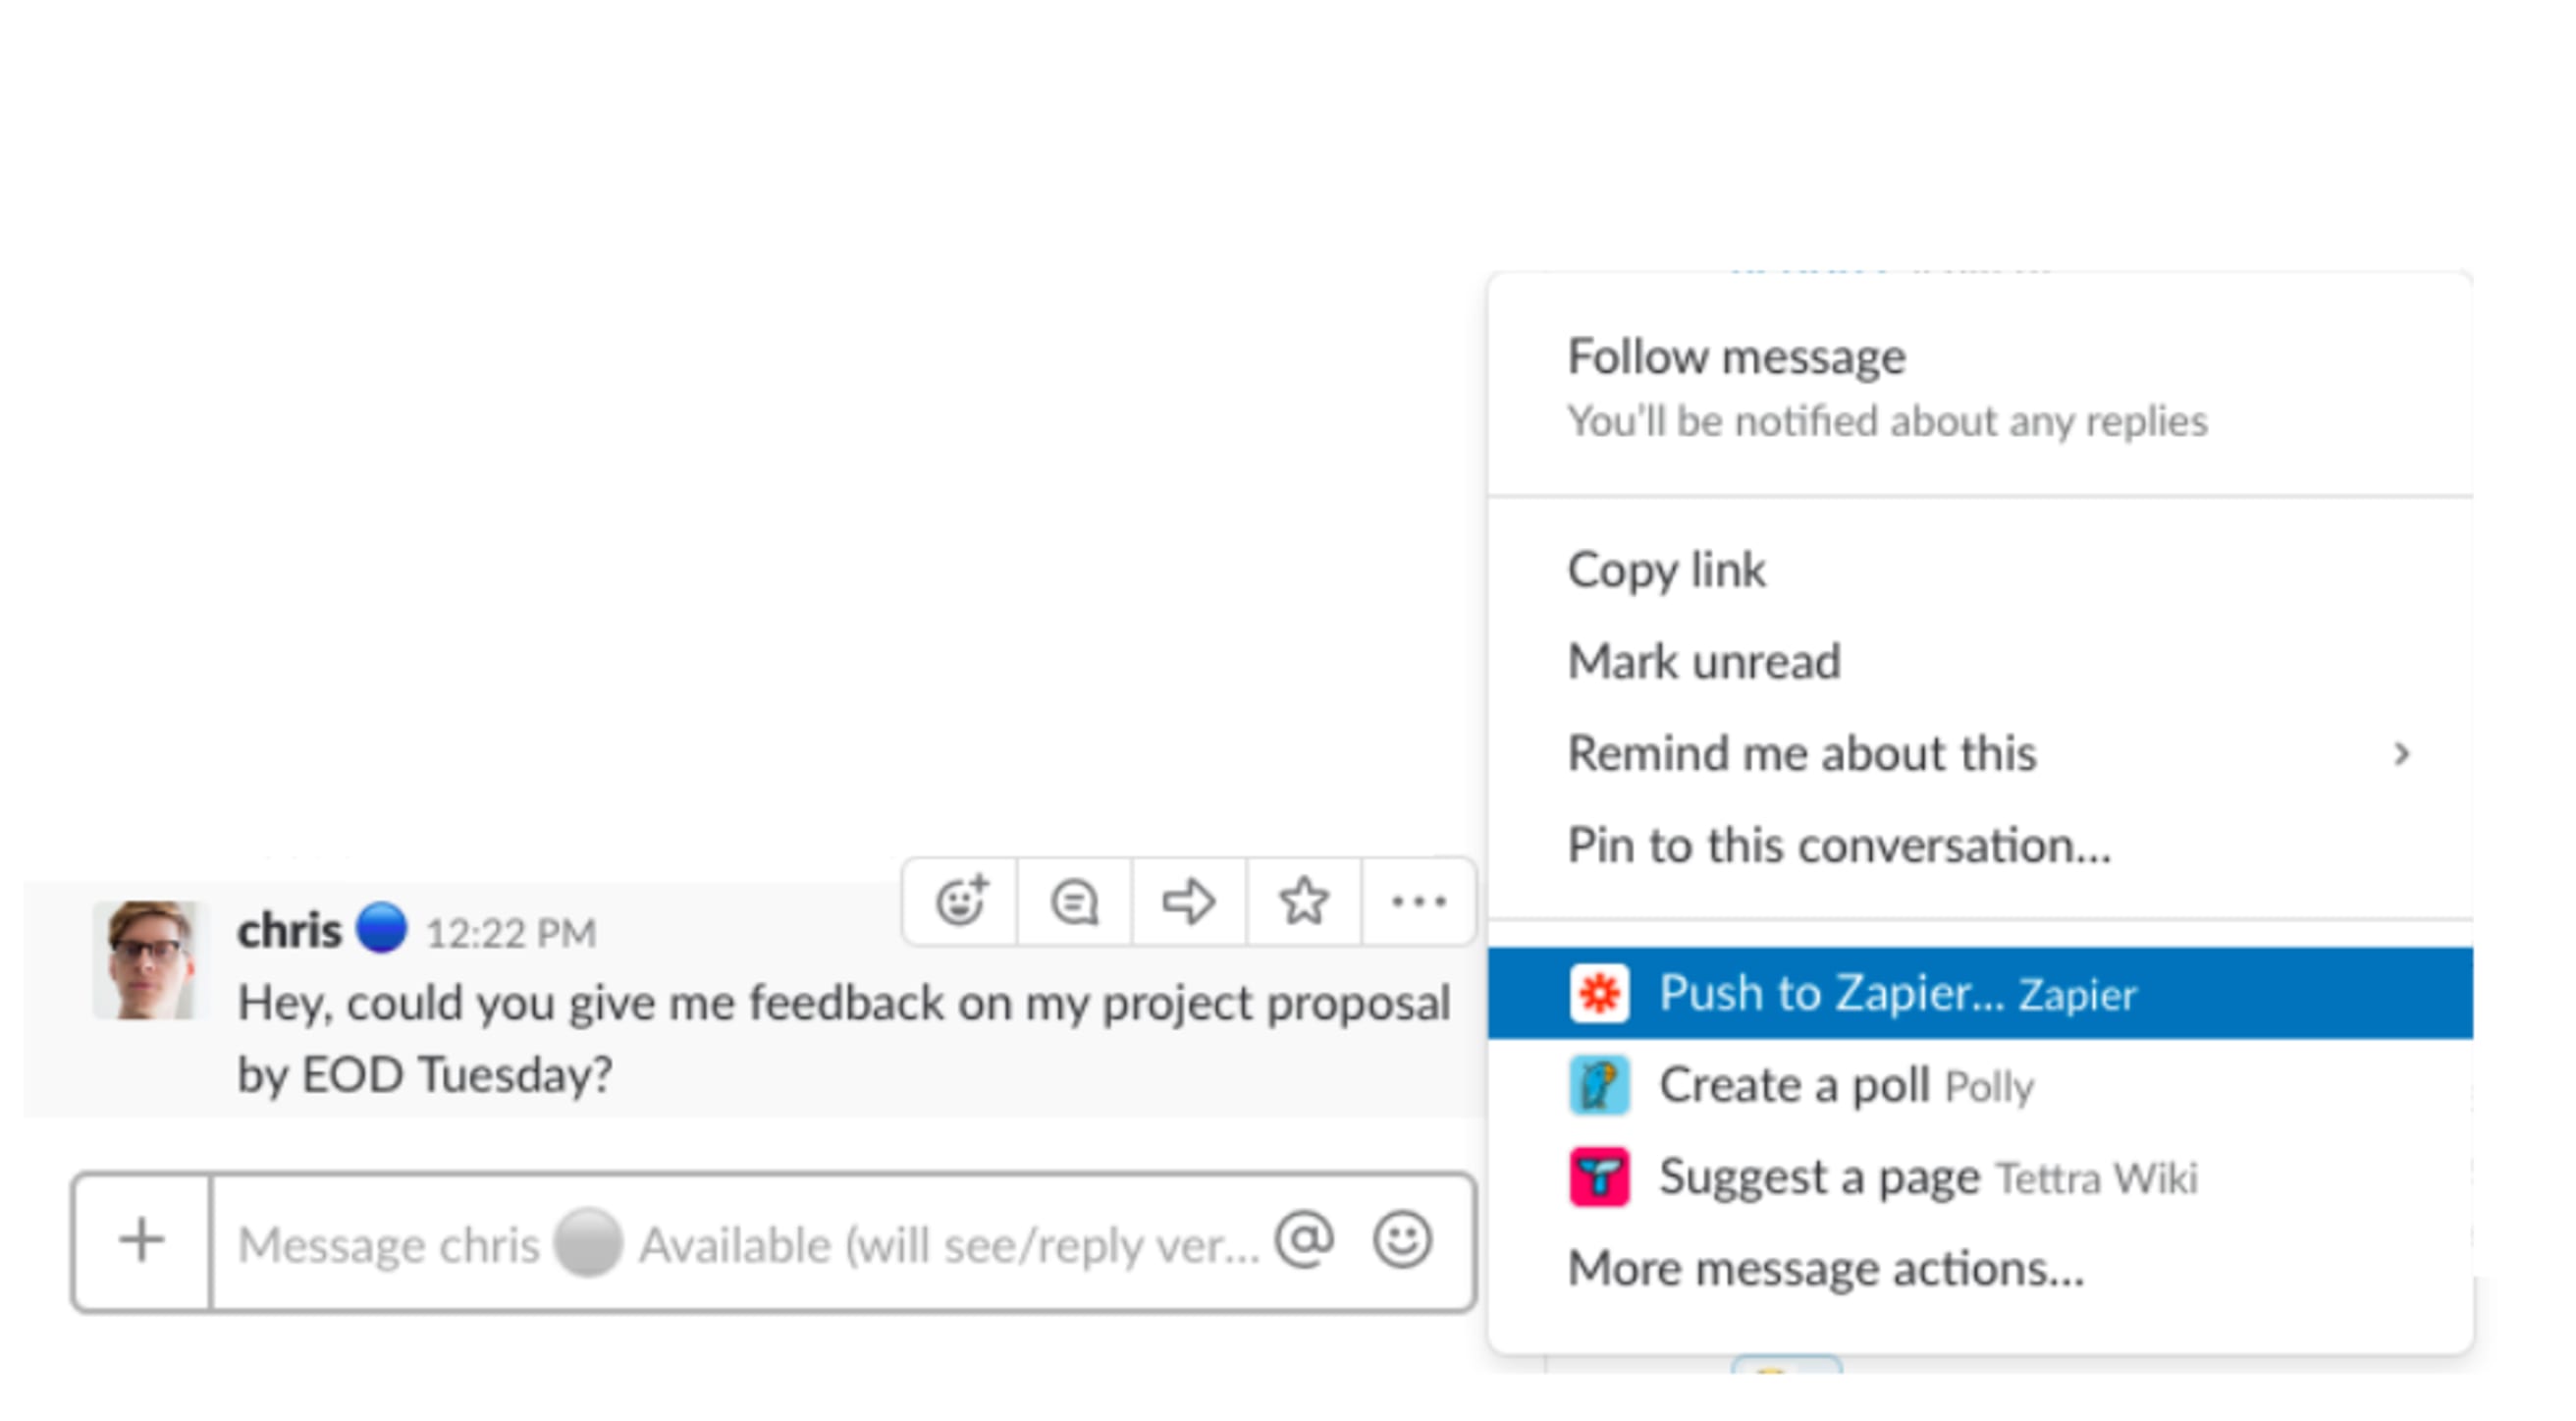
One helpful new feature is Zapier Slack Actions. If you’re a Slack user, you know that action items can easily get lost among the chatter. With Slack Actions, you can quickly create tasks from any message in Slack so that you can tackle it later. The slack message you select, along with other helpful information like channel name and username, will be sent over to Todoist, creating a new task.
Getting Setup With Zapier
- Open https://zapier.com/zapbook/todoist.
- Click the Make a zap with Todoist button.
- Set up Todoist trigger. You'll be asked to connect your Todoist account and grant Zapier authorization to access data from your account. To continue, proceed with authorization.
Pomodone
PomoDone is the perfect integration if you already practice the Pomodoro Technique with your Todoist tasks or want to start. If you’re curious about how long it takes to complete your to-dos, tracking the time you spend on each task with PomoDone is simple.
Pomodoro is an effective productivity technique that will show you where your time goes. For instance, a task that you guess might take two pomodoros (2, 25 work minute sessions) may actually take you four pomodoro (4, 25 minute work sessions). You can then use that knowledge to make more accurate estimates in the future. Tracking always beats guessing.
Getting Setup With PomoDone
- Create a PomoDone account.
- Connect your Todoist account with PomoDone.
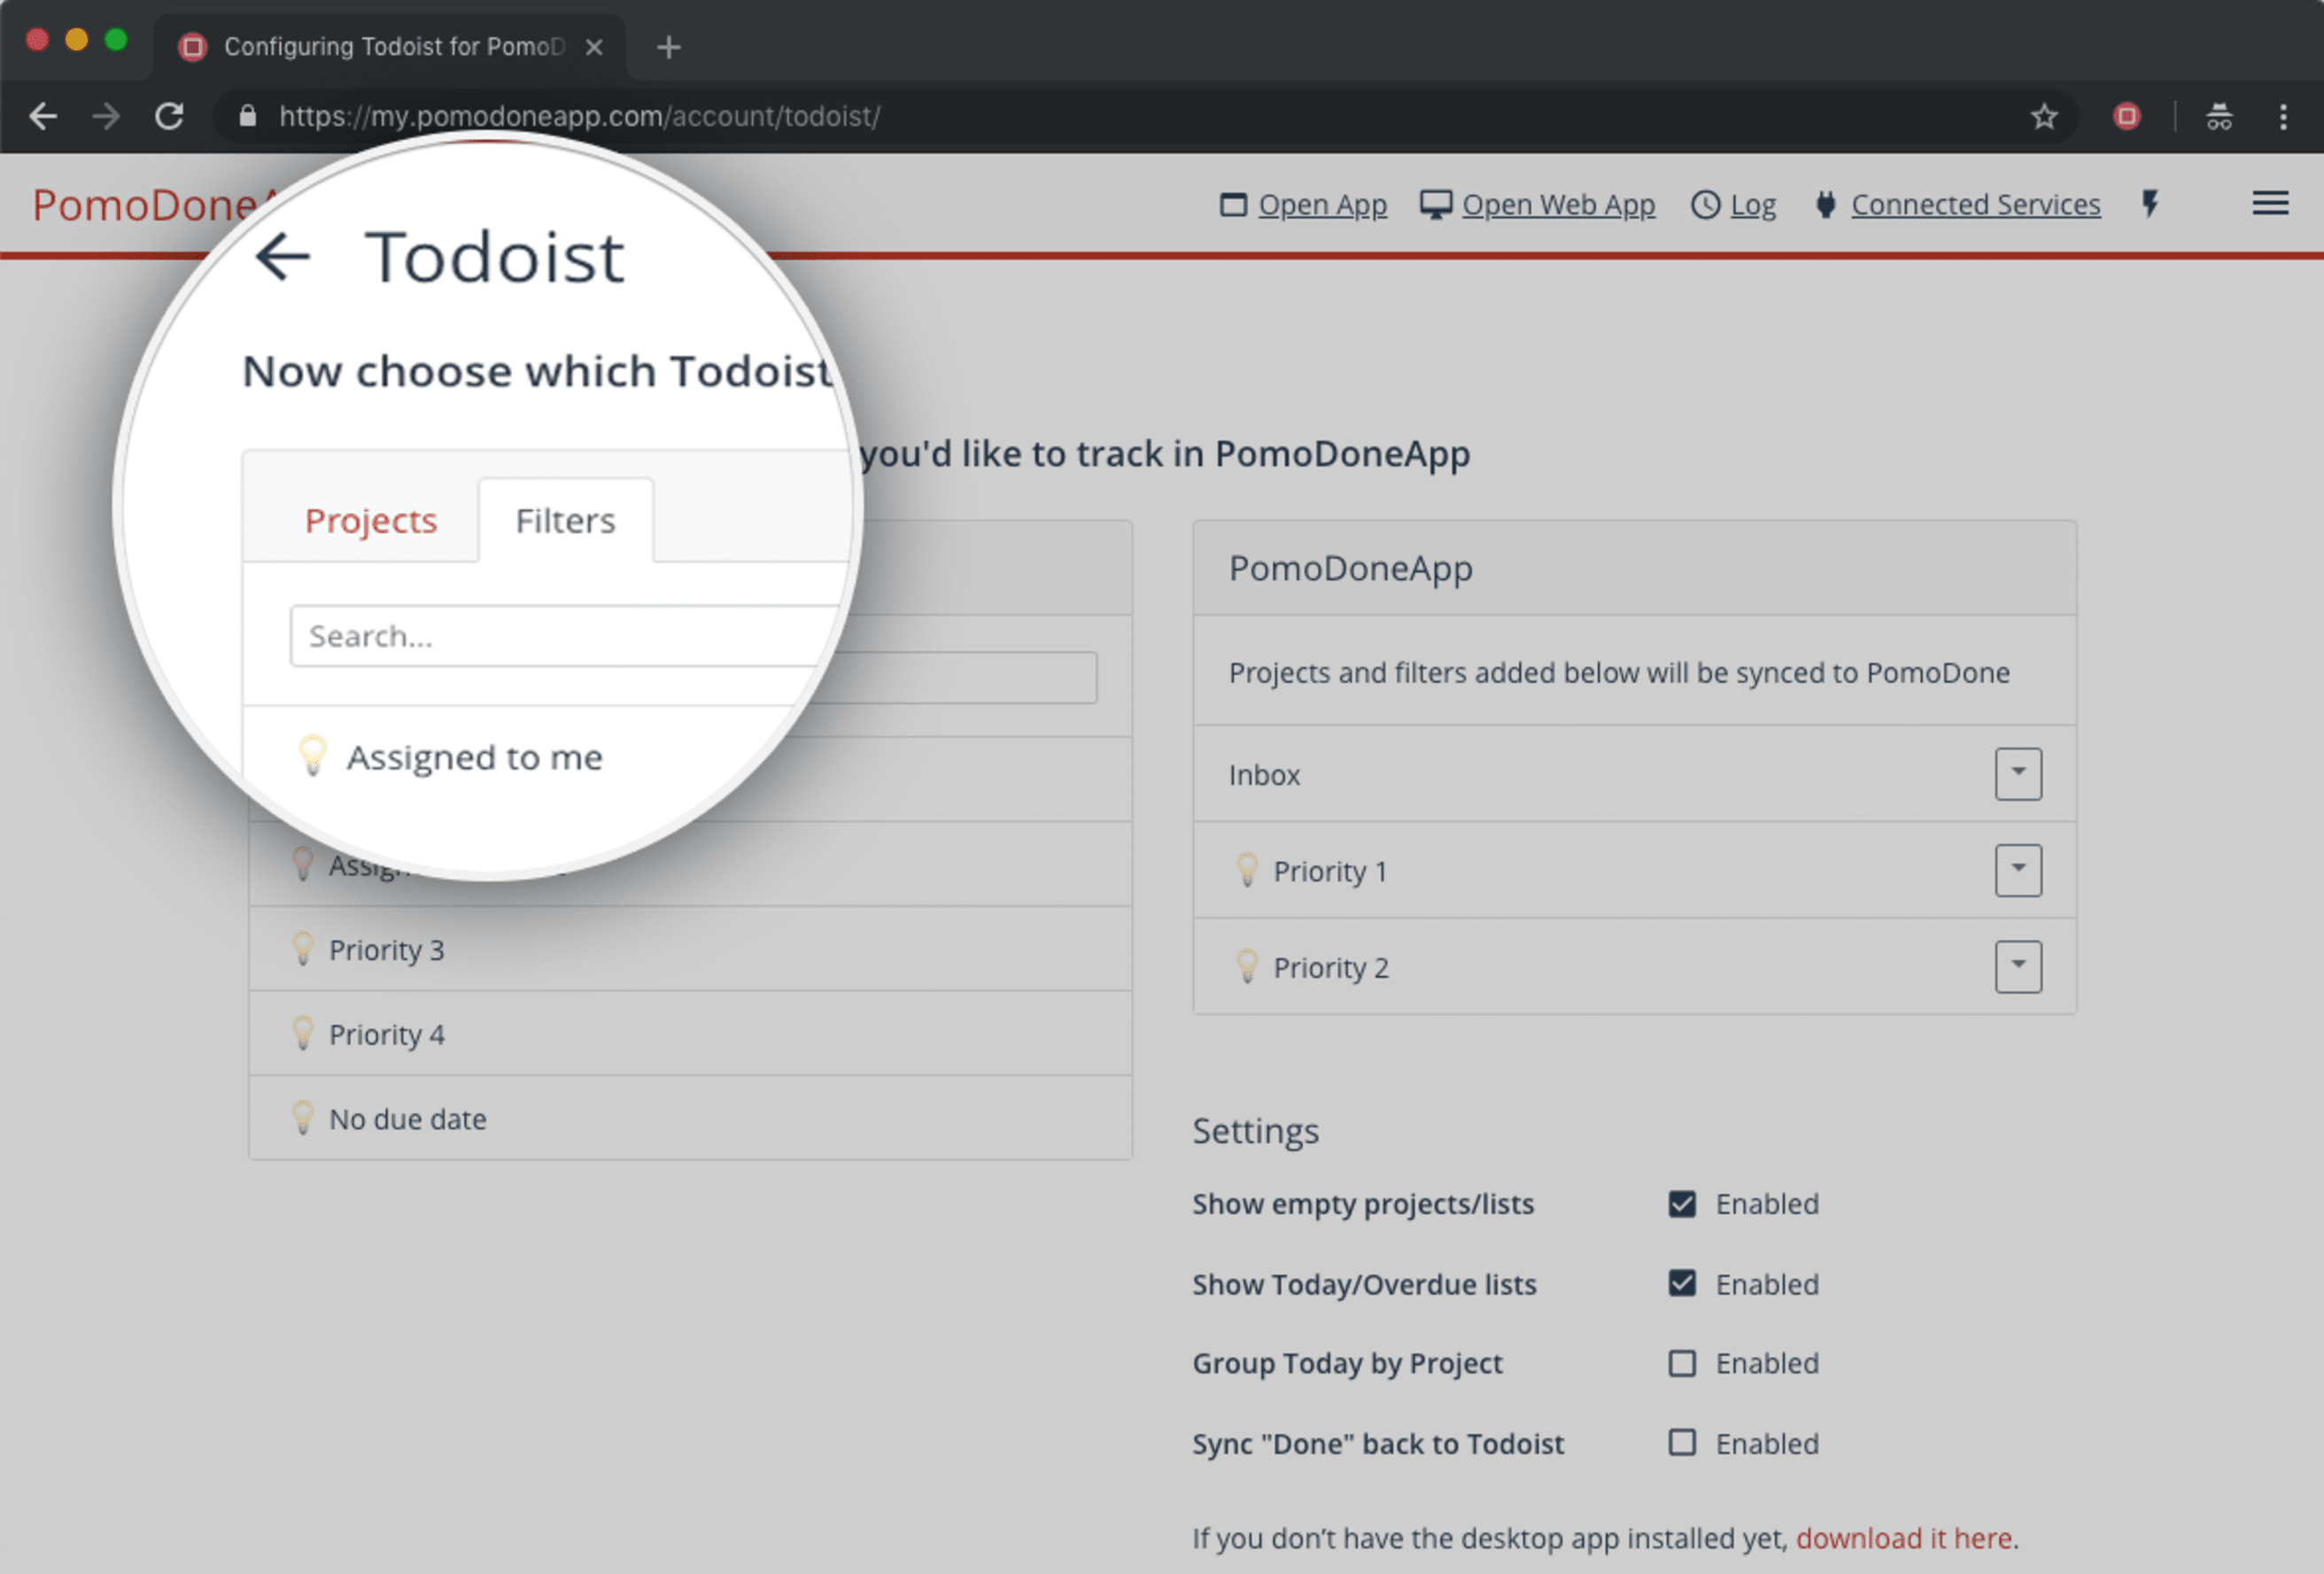
- Select the Todoist projects and/or filters you want to track in PomoDone.
- Define a PomoDone bucket for each project or filter and start using PomoDone to track your time.
Pleexy
If you’re productivity obsessed with multiple to-do list apps or simply use different task management tools for work and your personal life, Pleexy should be your go-to Todoist integration. Rather than having your to-dos scattered across apps, you can use Pleexy to bring them all into Todoist.
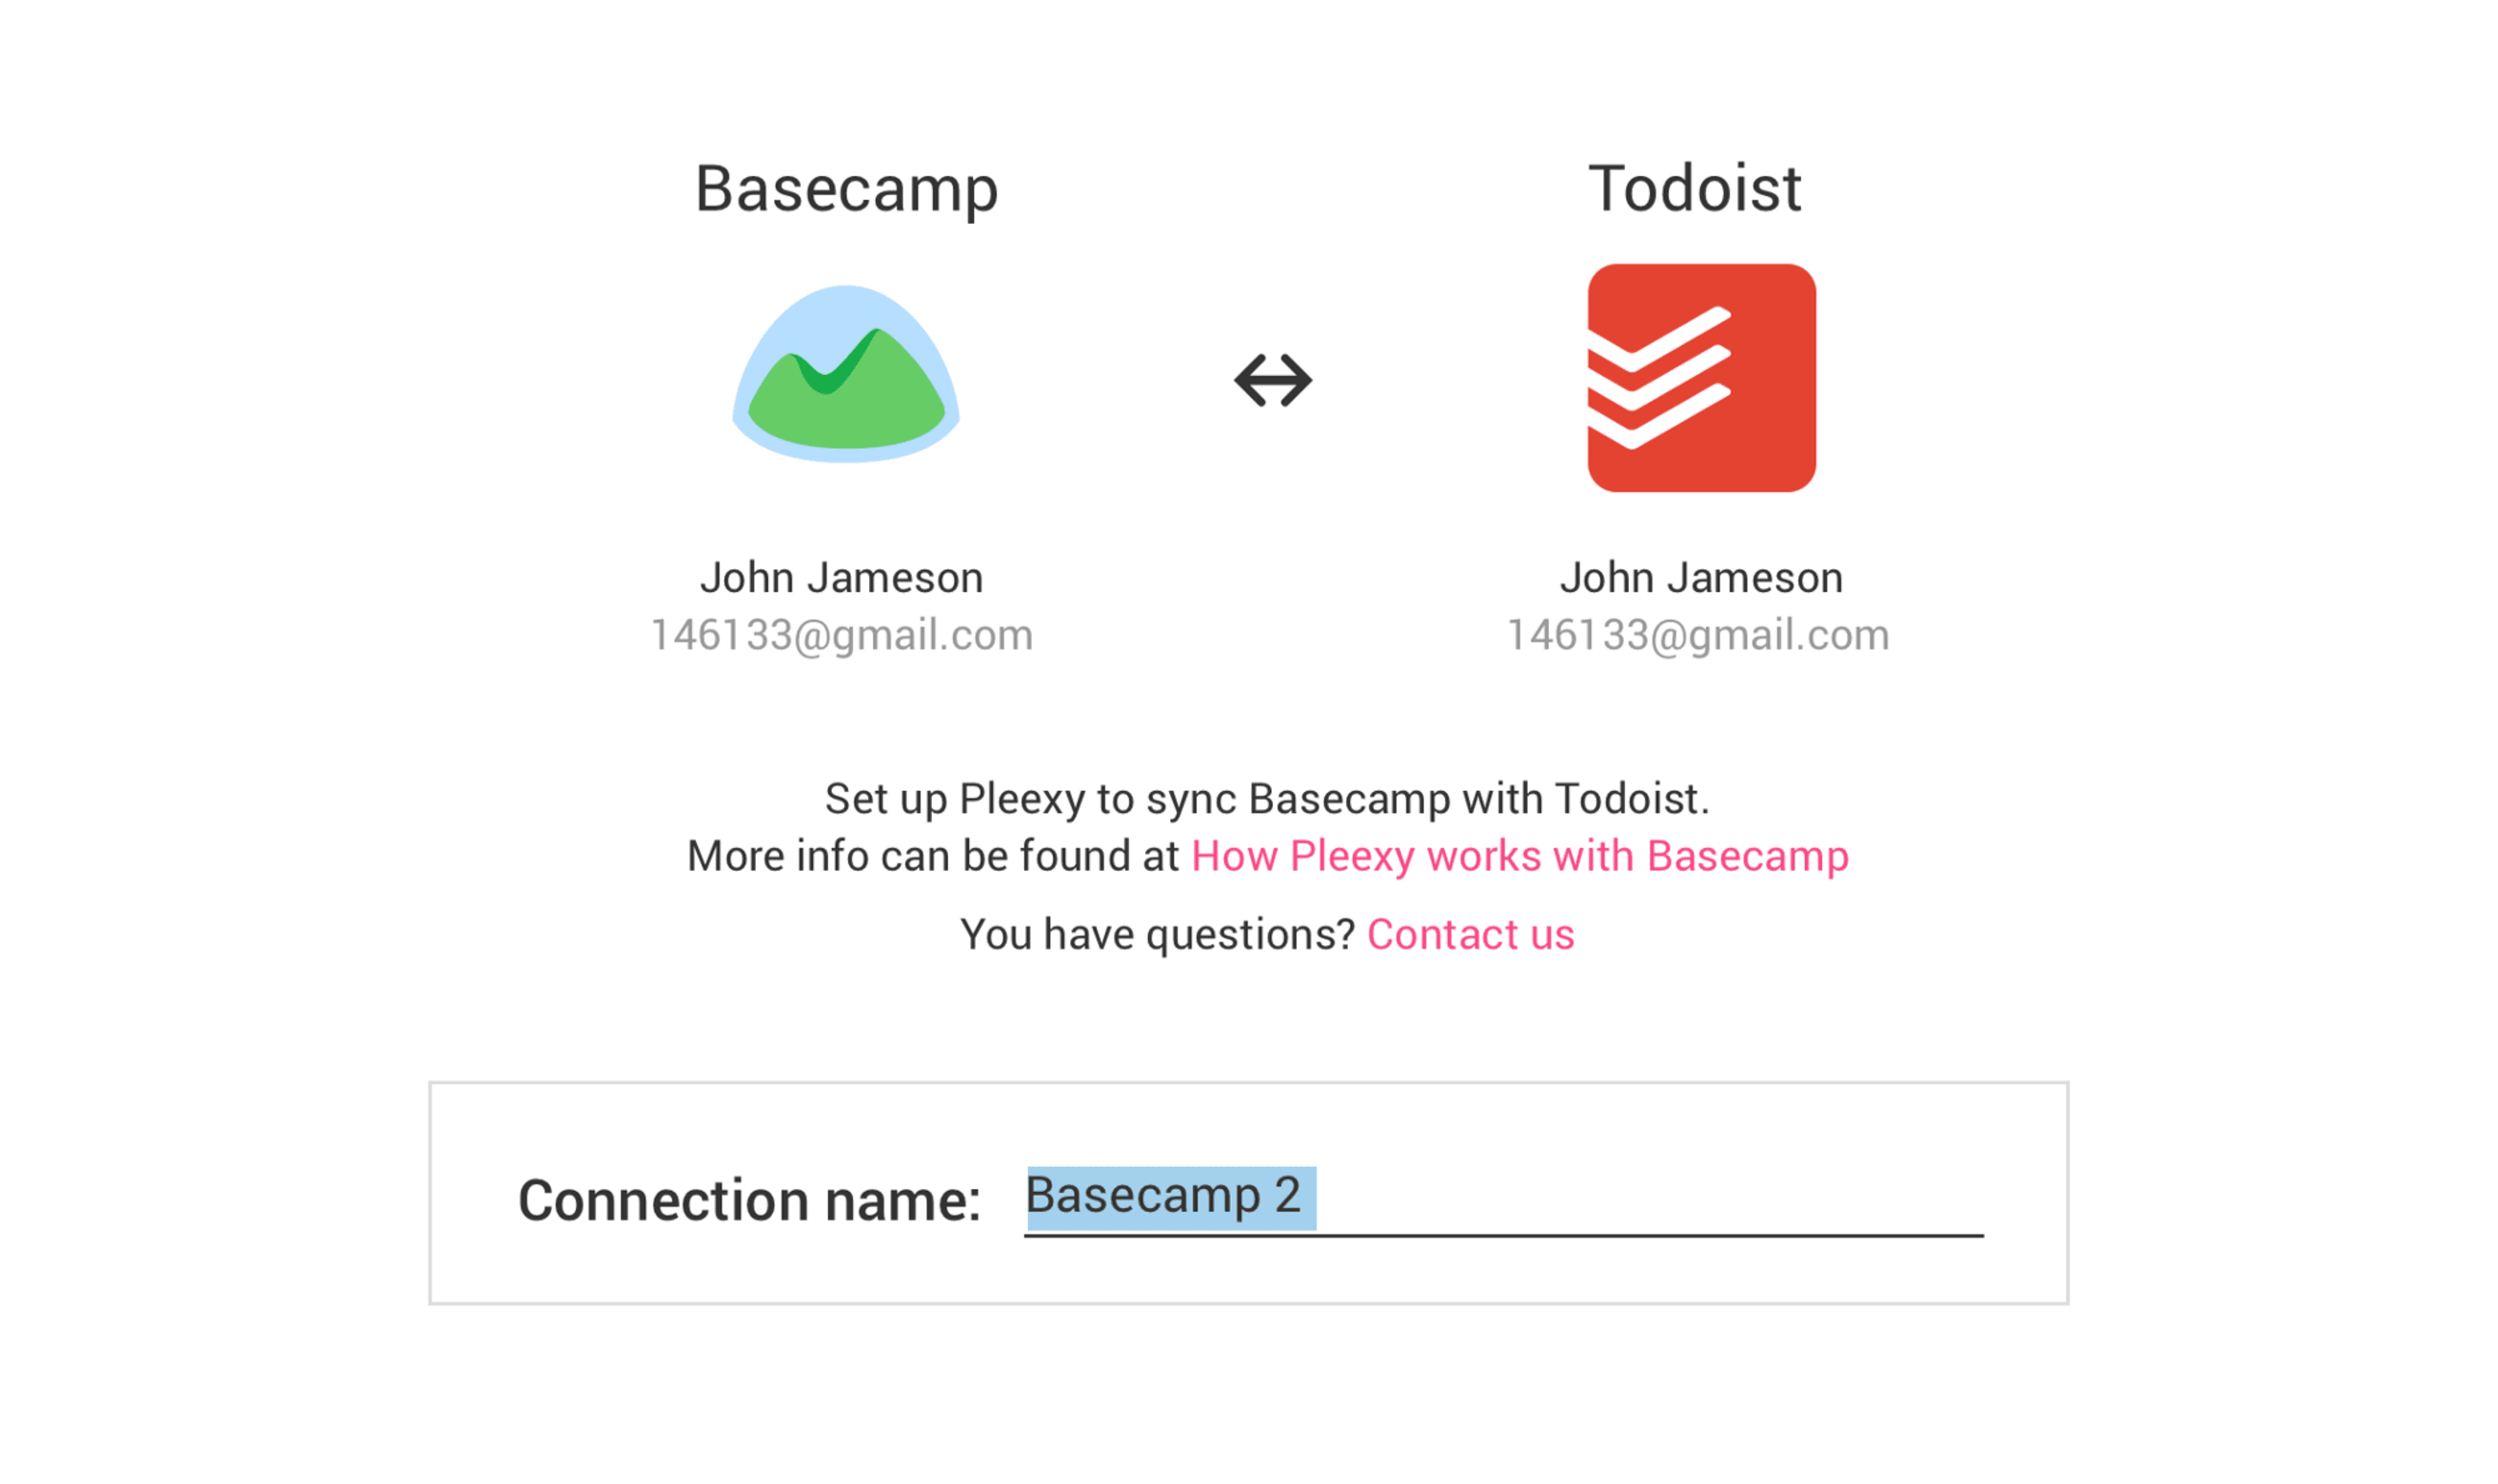
Say your team uses Asana to manage projects, but you like to keep track of everything you’re personally responsible for in Todoist. Pleexy will sync the two lists so everything is accounted for in your Todoist. And when you complete or update a task in Todoist, those changes will automatically sync back to Asana. Pleexy supports several project management productivity tools including Asana, Trello, Evernote and Basecamp.
Getting Setup With Pleexy
- Visit https://pleexy.com/signup
- Click on Todoist.
- Authorize your Todoist account to grant Pleexy access to your Todoist data.
- Select the app you’d like to connect to Todoist from the list, and then follow the steps to set up the connection through Pleexy.
Shift
Sometimes it’s the little things that add up to make us less efficient. Something as simple as switching between apps and keeping our tabs in order can add up into time we can’t get back. Enter Shift.
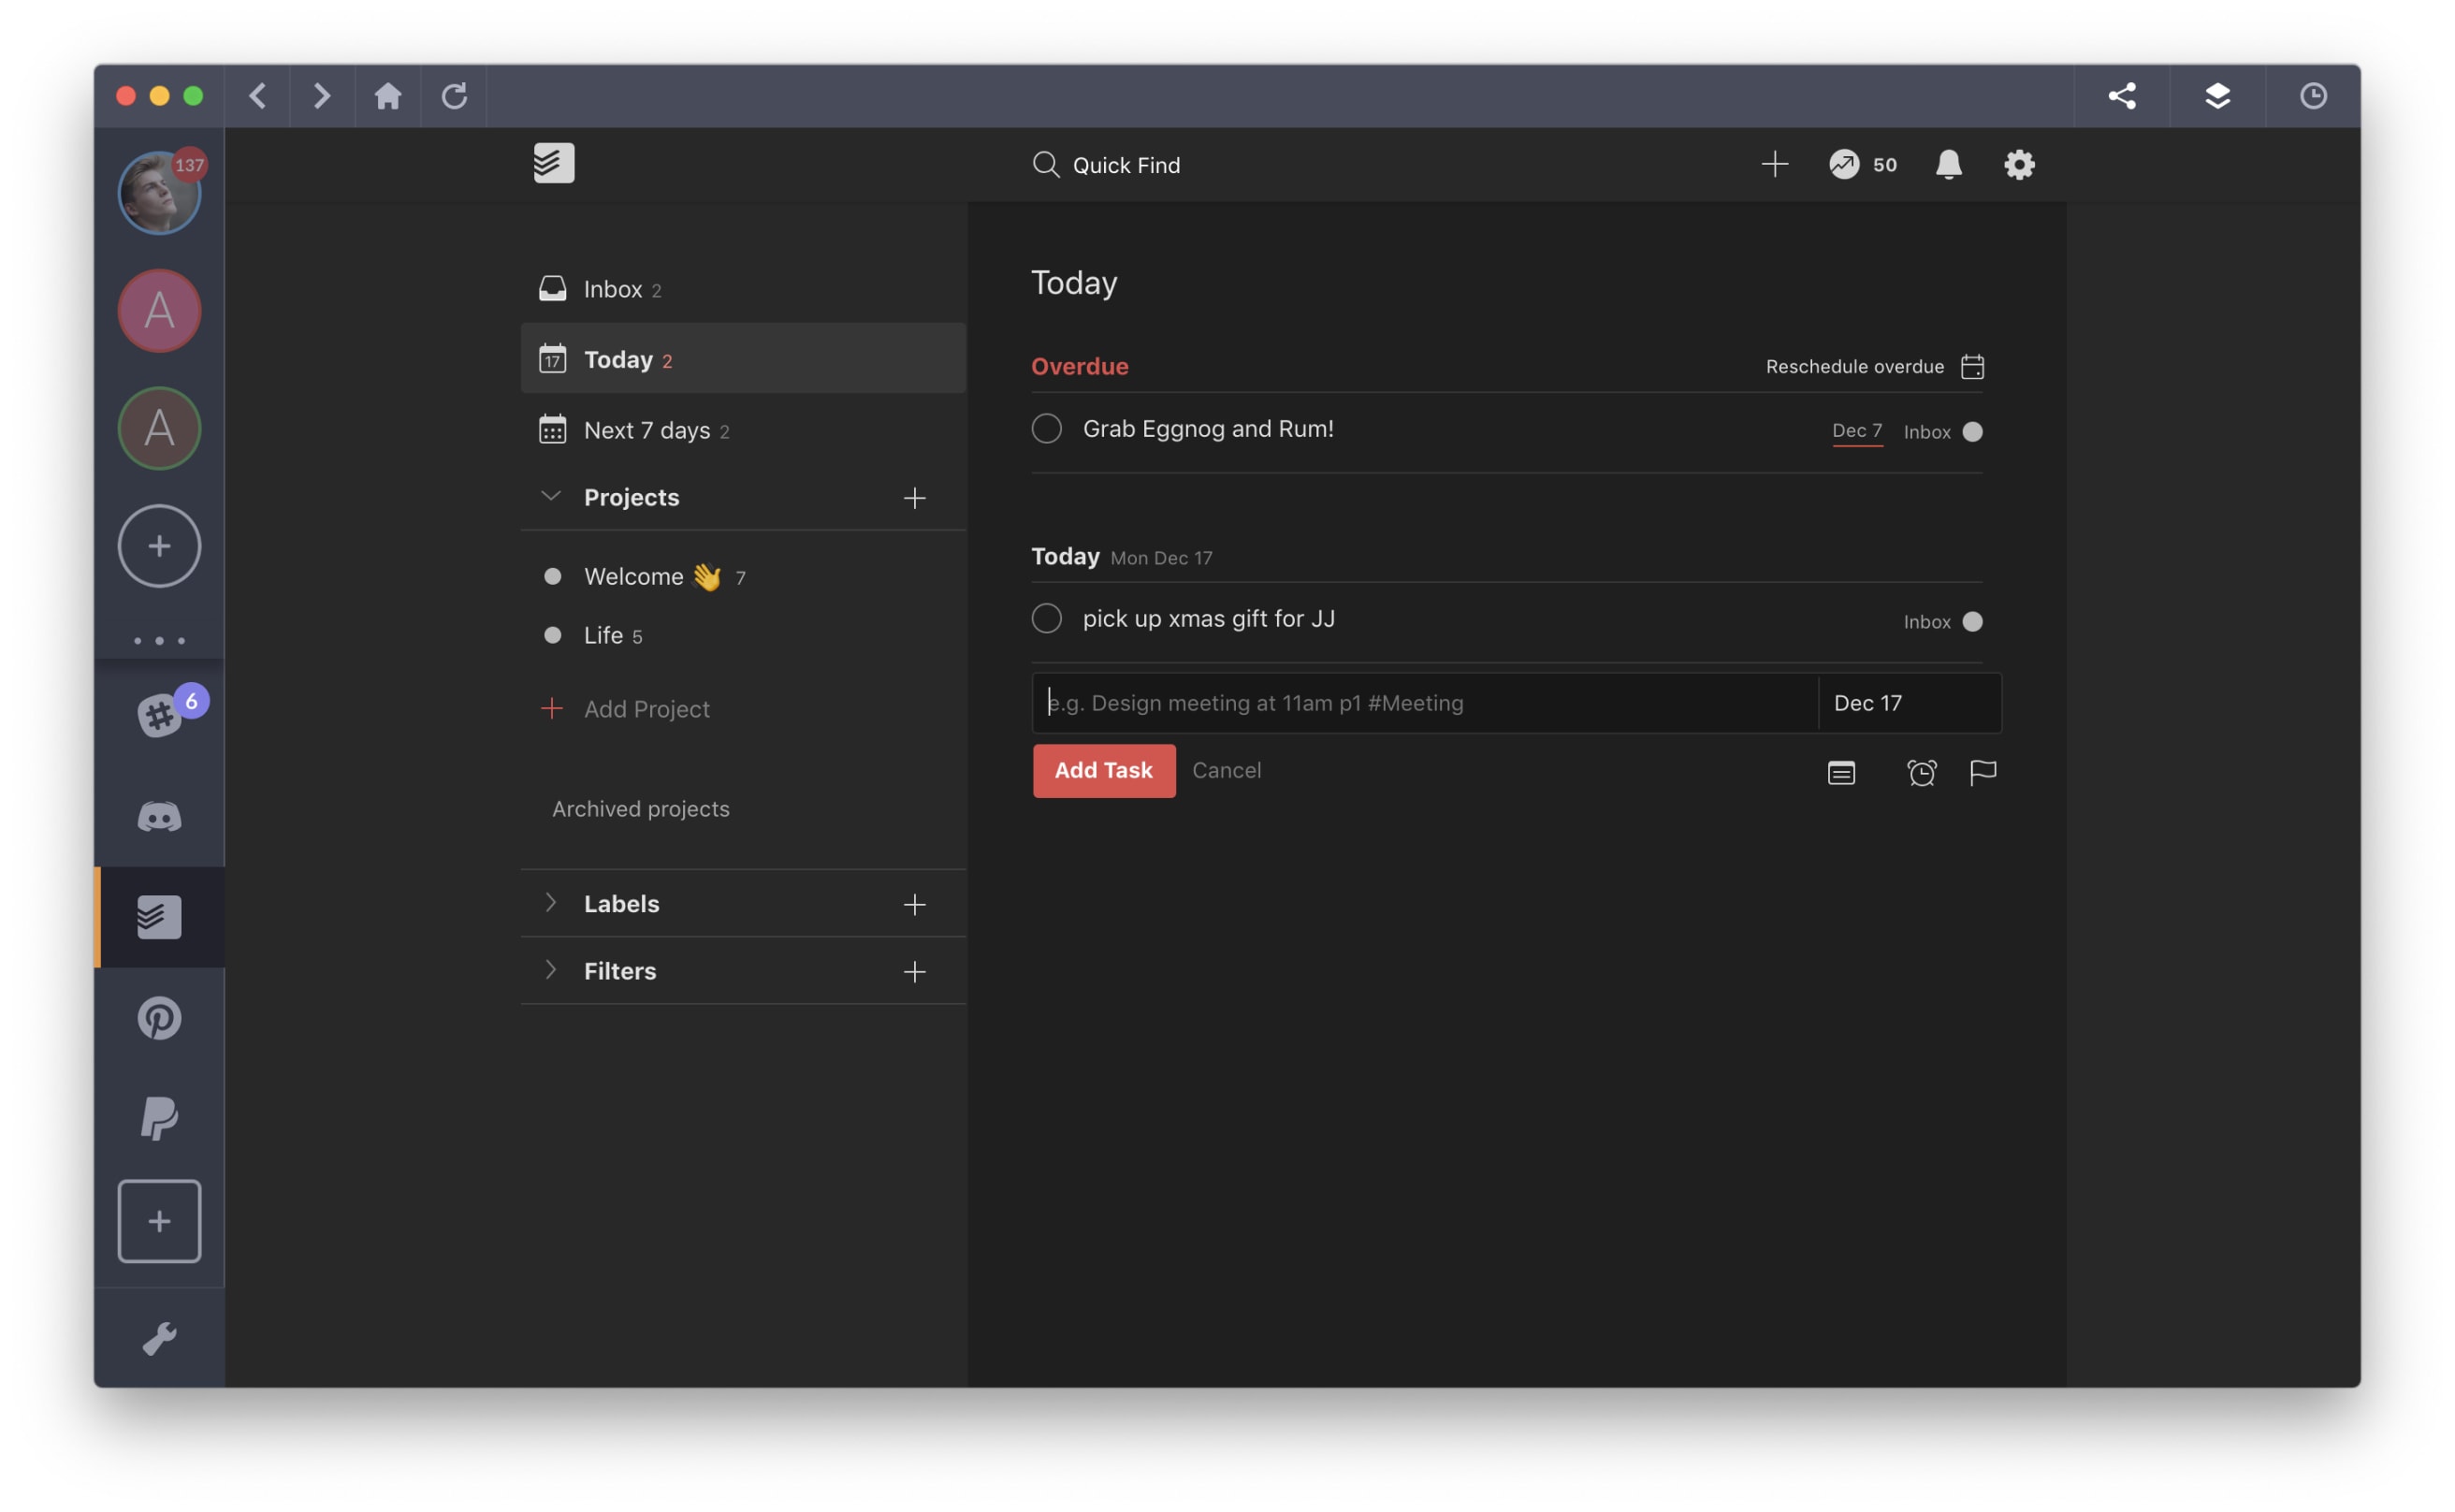
Shift lets you connect your email accounts, Todoist, and all of your other favorite apps and extensions in one beautiful desktop workspace. Suddenly, you’re spending less time logging in and out of your email accounts or moving from tool to tool and more time focused on what you need to get done.
Getting Setup With Shift
- Download Shift (available for Mac,Windows, and Linux)
- Within Shift, select the “Add Application” button
- Navigate to “Apps” and locate “Todoist” under the "Project and Task Management" category
- Click the Todoist icon and provide an Account Name and Account Color
- Login to Todoist
- Todoist should now appear in your Shift sidebar
Mailbutler
With Mailbutler, Inbox Zero isn’t just a pipe dream. With features like Tracking, Send Later, and Snooze, email management is just...easier. You can connect Todoist with Mailbutler and send emails as tasks straight to your to-do list.
Getting Set Up With MailButler
- Sign up for Mailbutler and navigate to the Mailbutler Dashboard
- At to the top right corner, select the dropdown menu and click "Integrations"
- Select "Add Service" and choose "Todoist" under "Task services"
- Provide Mailbutler access to your Todoist account
- Navigate to your Mailbutler Integrations List
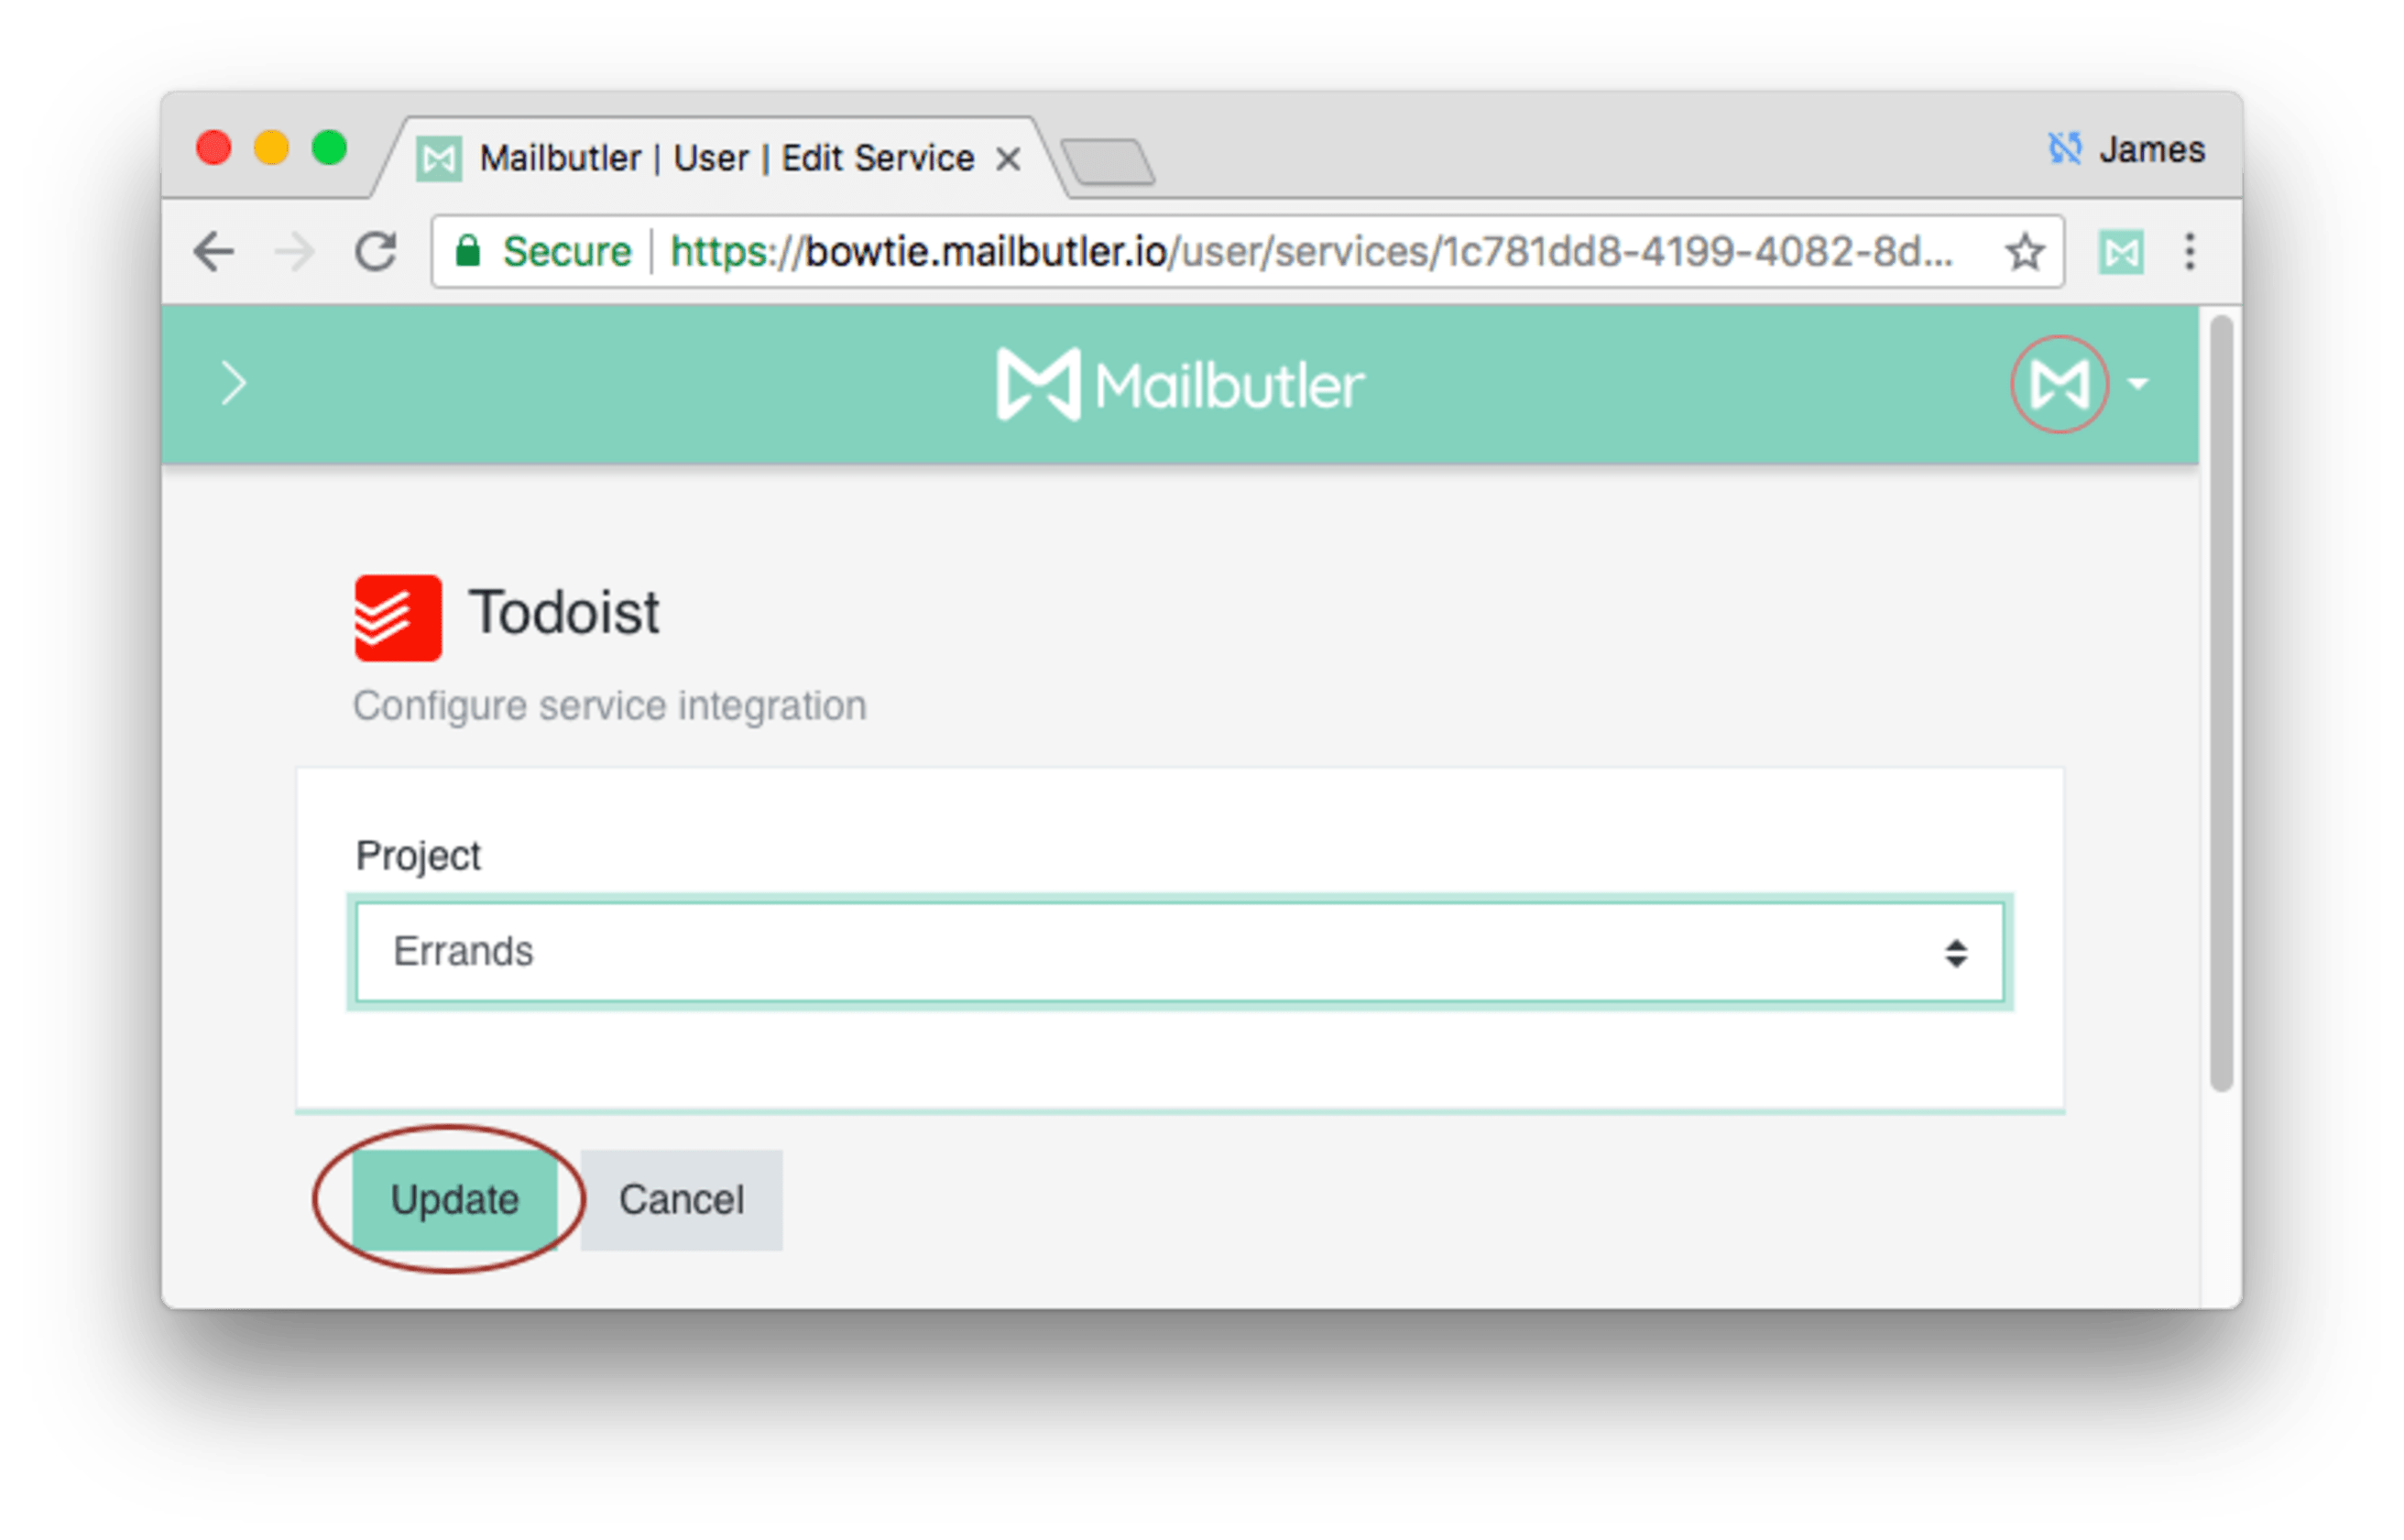
- Select the settings icon next to Todoist and choose the name of the Project you want to integrate with Mailbutler. Once complete, click Update to save.
Exist
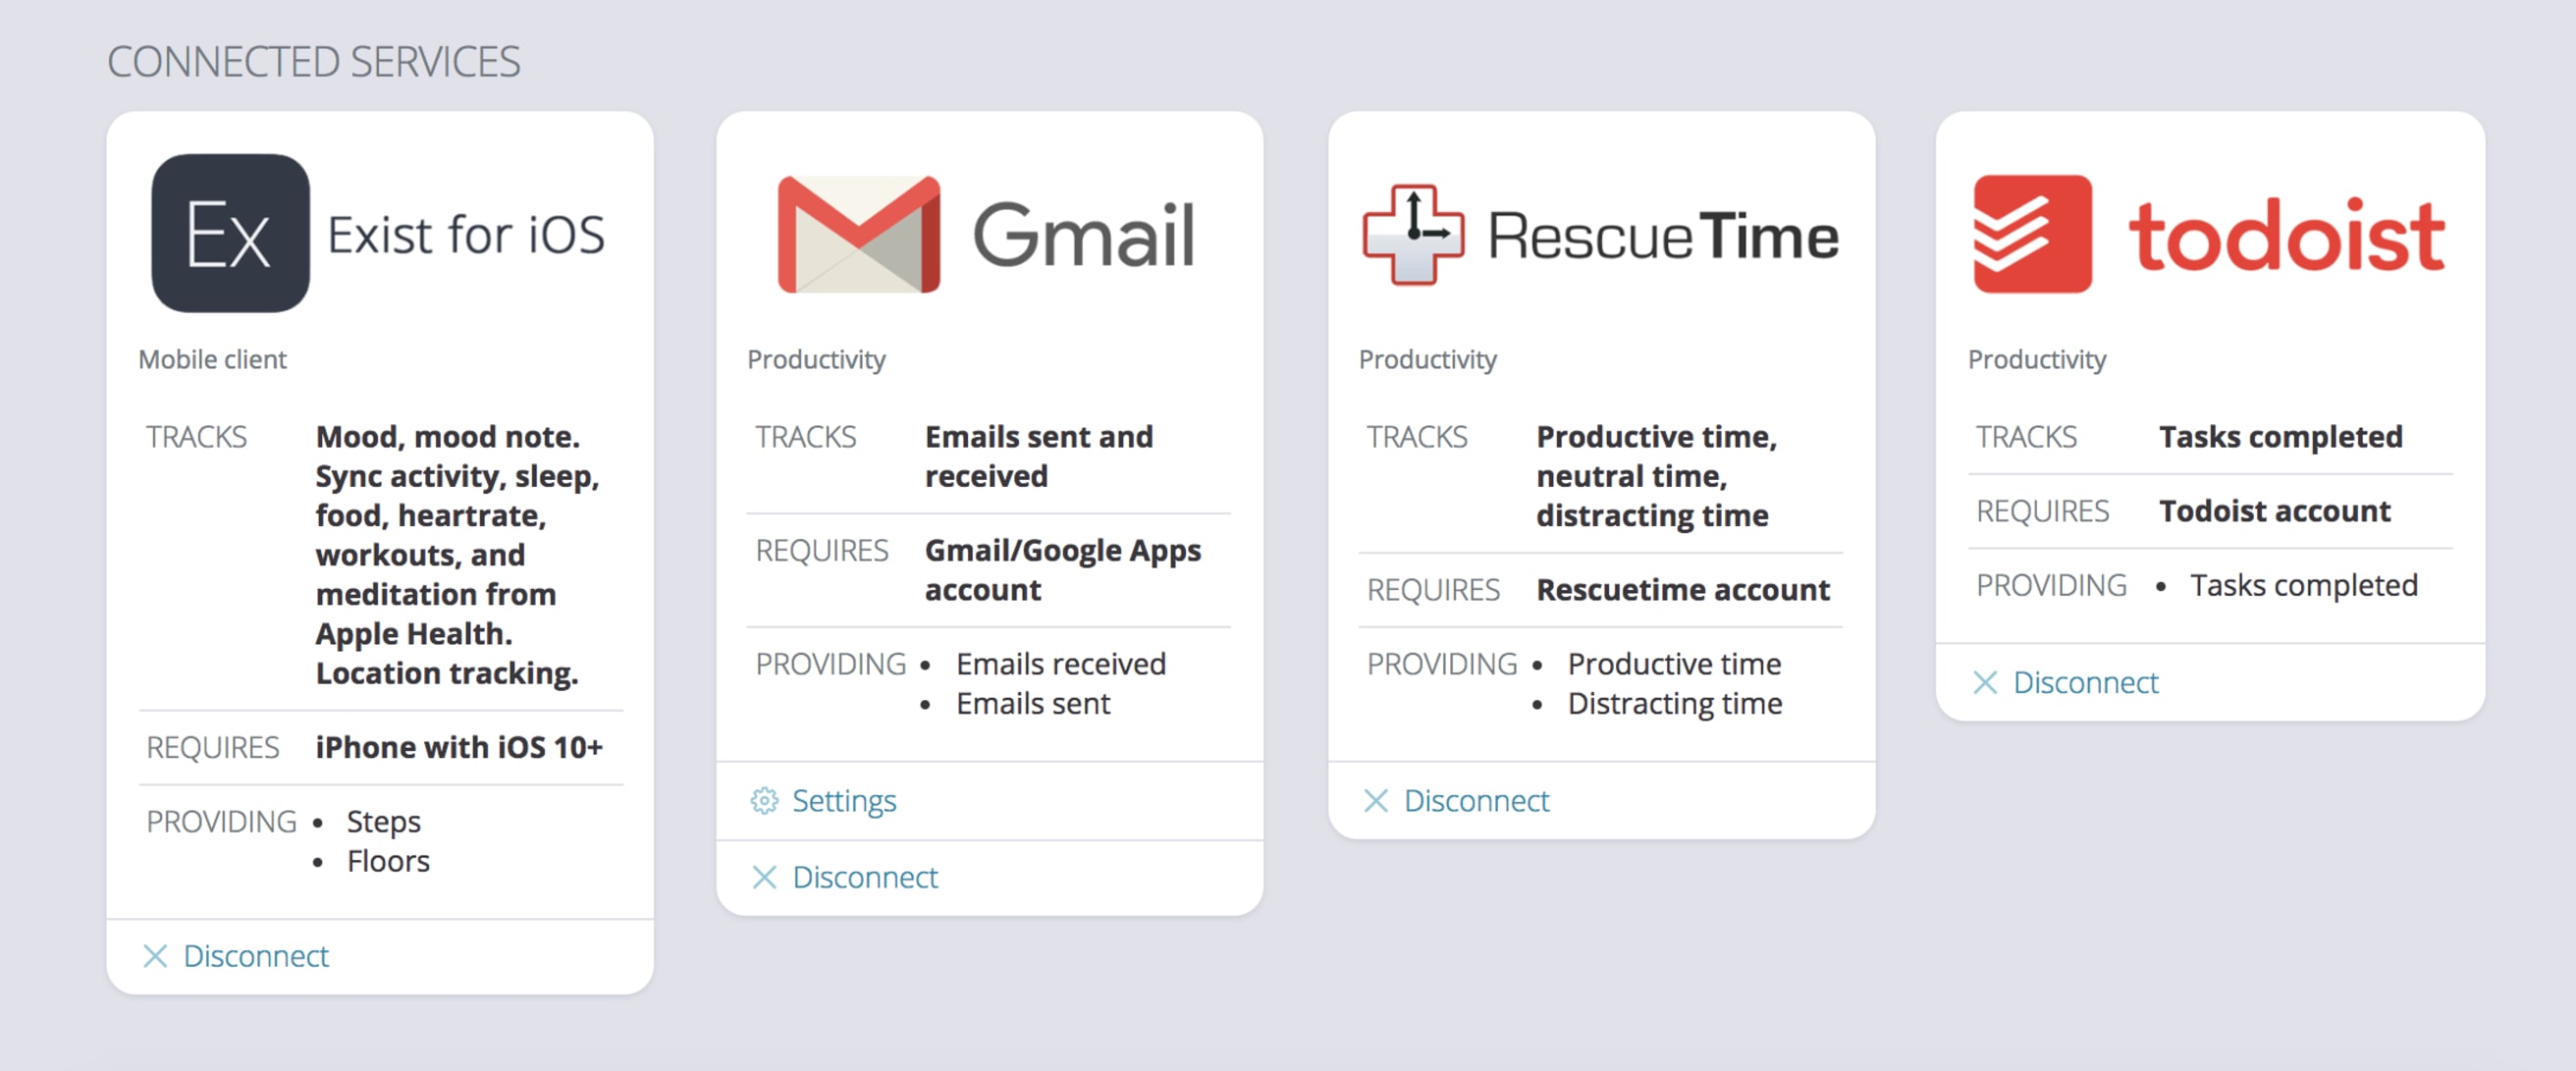
If tracking your tasks isn’t enough, Exist lets you track, well, everything. Practicing some form of quantified self will help you visualize trends in everything from your sleep and productivity to your fitness and music tastes. Exist is the ideal tool for bringing all your self-tracking together, from apps like Todoist, FitBit, Last.FM, and RescueTime.
Getting Set-Up With Exist
- Sign up for Exist
- On the Exist Dashboard, select "Add a service"
- Navigate to Todoist and select "Connect"
- Provide Exist with permissions to your Todoist account by selecting "Agree" on the permission request page
- Your Todoist information will now appear under "Productivity"
Google Calendar
The age old productivity question: calendar or to-do list? We say, “why not both?” Our Todoist 2-way sync with Google Calendar lets you see your tasks with a due date and/or time on both your calendar and your Todoist task list.
Adding important time-sensitive tasks to your calendar and your to-do list will help you visualize what you need to get done and provide you with an accurate picture of your day, week, or month.
Getting Set-Up With Calendar Sync
- Sign into the Todoist web app (this integration can only be authorized via the web app).
- Click on the gear icon in the upper-right and select Settings.
- Click on the Integrations tab.
- Then click Connect next to Google Calendar.

Automating certain processes with Todoist integrations is a win-win: less time on tedious tasks and more time on important ones.
While we’ve listed only a few, feel free to experiment with 60+ integrations and even more when you connect Todoist with other apps via Zapier. Let us know which integrations you currently use and which you’d like to see available in the future! Leave us a comment below or reach out to us on Twitter (@Todoist).

